

Ever wanted to try layered painting? The style has always appealed to me, but I’ve forever been terrified to try it. I’ve dabbled in it before, but never full on done a whole piece that was crazy layered.
I recently acquired a giant (and I really mean giant, this thing is like 7 ft tall and 5 ft wide) bookshelf that I wanted to put in my living room. It needed help in the styling department, so I decided I wasn’t going to look up any tutorials, I was just going to tackle it how I assumed it would work in my head. It worked. So let me tell you how I did it.
So first I feel like you need a disclaimer. I am eclectic. My house is also eclectic and full of color and weird things that I love. So if the “style” of my decor or colors doesn’t appeal to you, know that you can tailor this to fit whatever color scheme/design style you have in your home.
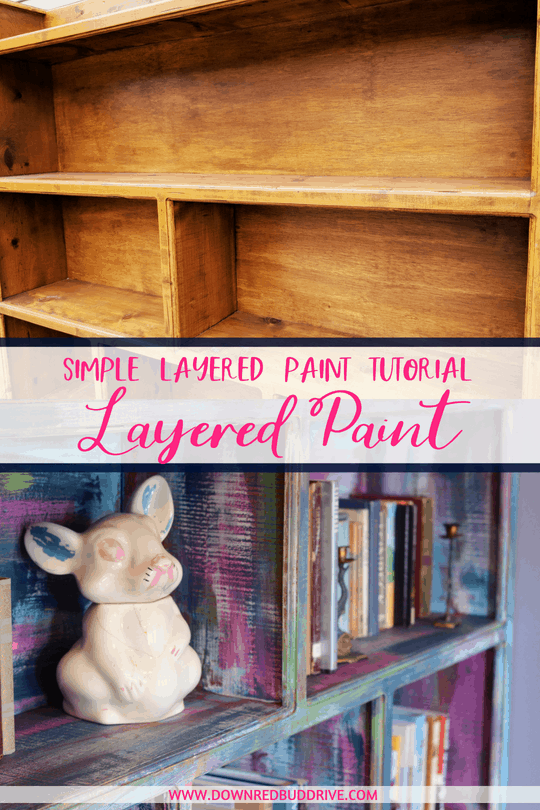
Now that we’re over the disclaimer, I can show you how I did a layered painting technique on this bookshelf. I feel like you need to see what it looked like before, so you can understand what I started working with. Let me show you.

I know I will have some of you who get to this point and gasp and say, “How dare you paint this beautiful wooden bookshelf!” And I respond with, I do dare. And this bookshelf did NOT even close to fit my design style when I started, and now it’s a loved piece in our home. So if you don’t like painted furniture, you should probably stop reading now so you don’t have a heart attack.

I found this big boy on Craiglist for $100. It’s solid, nice quality wood and was perfect for the space I wanted it to go in. We were going to build a custom bookshelf to fit the space, but this one was only a couple of inches thinner, and a few inches shorter than our custom would have been, so this worked perfectly and saved us a ton of money. Anyway, let’s get to the layered painting technique.
Layered Painting
You will need:
Clean white cloth (old white t-shirts work perfectly)
2″ nice paintbrush
Chalk Paint (in as many colors as you want to bleed through on your piece…this bookshelf has seven and I used a mixture of American Paint Company paints and Junk Gypsy paint)
Antiquing Wax (I use American Paint Company clear)
A 2″ paintbrush for the wax (don’t use the same one as your paint)
Fine Sandpaper ( used 120 grit)

Base Coat
The first thing you need to do when doing a layered painting piece like this, is to get a good base coat on your piece. I picked a color I didn’t want to be too prominent, but that I did want to show through. My living room space is designed around the fabric of my curtains (which you can see HERE) so I wanted to include all the colors from those curtains. Which was a lot of color. I started with a dark red. I made sure to paint in all the nooks and crannies, because the one thing I didn’t want people to see was the wood color the bookshelf started out with.
After the green went on, this was the point in the project where my husband started to panic. I kept painting with nagging doubts in my mind that I was destroying this and I was going to hate it, but wow am I glad I finished.
Layered Painting
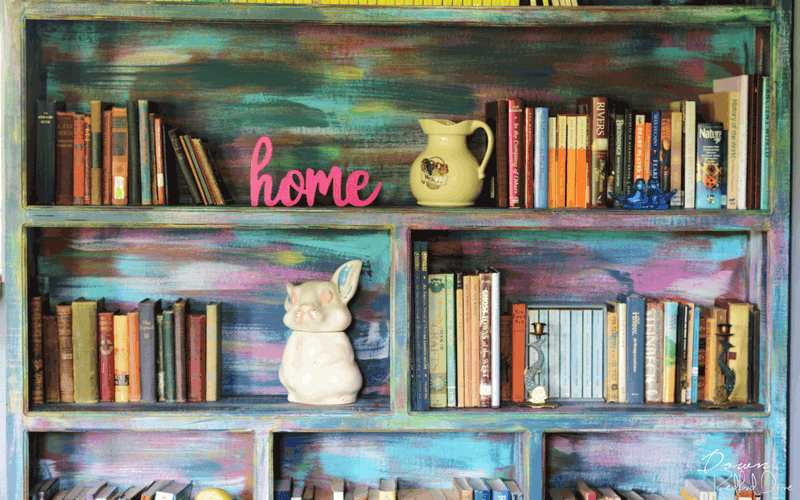
Let that layer dry completely before adding your next color. As you can see in the picture above, that’s how you layer it to get the final look I got. Use your brush and just make random streaks and swipes. Be careful not to ever color with too much of each additional color, or you will lose the colors underneath. Light swipes here and there make cool details in the wood stand out, so try that.

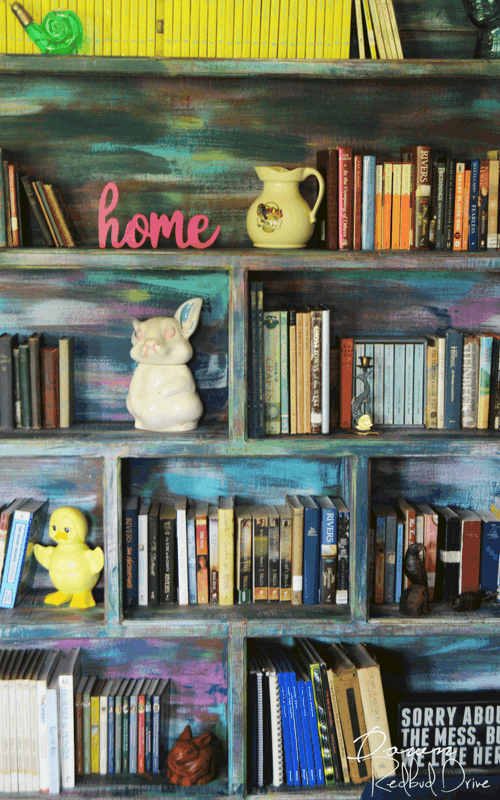
You can see that once I was finished with all my colors, that in all the edges and details of the piece (I love flaws in the wood, they look so pretty with this layered painting technique) make each color layer shine on its own.

To get this look, after you’ve brushed on every layer of your paint (waiting for each one to dry in between) go over the entire piece with a fine grade sandpaper. Pay careful attention to the edges, corners and details of your piece so that all those fun colors can come out! This will make it look more authentically aged.
WANT TO SEE MY OTHER DIY FURNITURE PIECES? CLICK HERE!
Before I sanded this down, the colors didn’t blend as smoothly, and now they do.
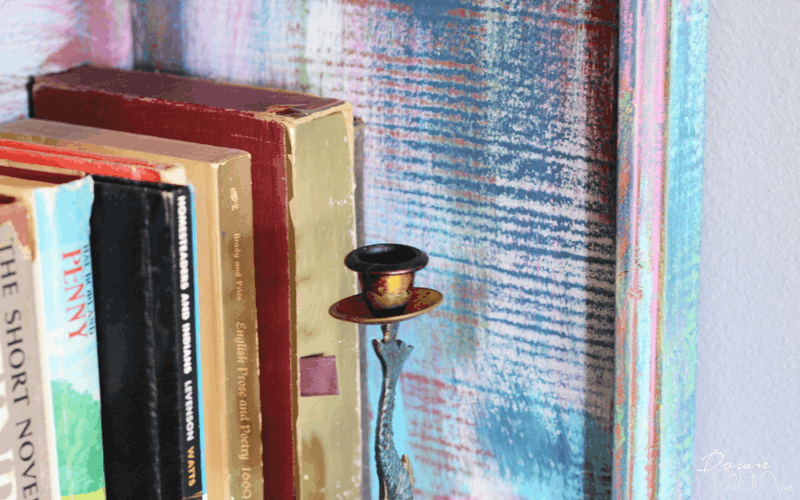
My favorite effect was how the wood grain made these stuttered lines along the insides of the shelves. I ran my brush lightly over these sections to make sure I featured a different color in each section.
CHECK OUT HOW I SHABBY CHIC PAINT WITH JUST WATER HERE!

This is so much more fun than it was when it was an outdated stained wood color!
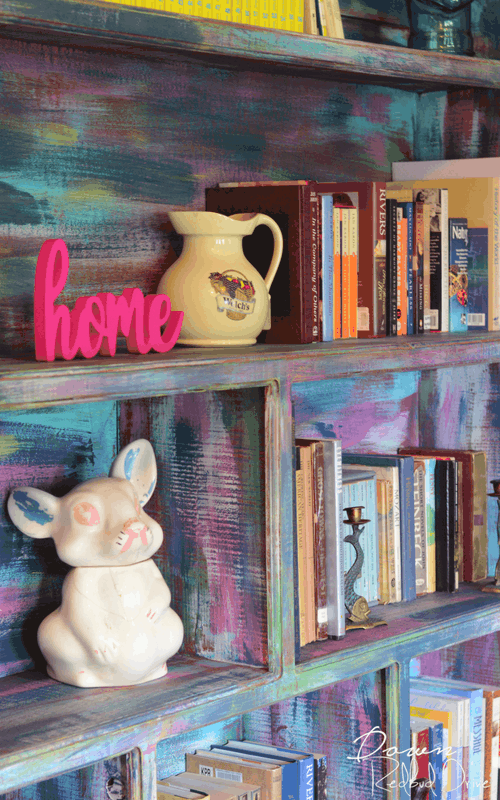
Keep in mind that the front part of your furniture piece is going to show more than other parts, so take extra time on it, and be sure to vary the colors you put on and where you put them. Sometimes I would competely paint over a little section with a color, just to make it look more authentically aged. The easy part about this is that every piece turns out differently with layered painting.
When you’re finished painting your piece, you need to seal it. After you’ve sanded, you will need to clean off all the dust with a clean cloth to make sure you’re not smearing all the paint dust you just sanded off back on to your piece. Use your wax paintbrush and put an even coat over the entire surface of your piece. Allow it to sit for 6-8 hours or until it’s no longer tacky. If you want it to have a pretty shine, use a clean white t-shirt and buff it down all over once it’s dry.

Then you can put your piece wherever you want! Use whatever colors you want to match your decor. You will doubt yourself in the beginning. Heck, I even doubted myself in the end, but I LOVE how it turned out!


Leave a Reply